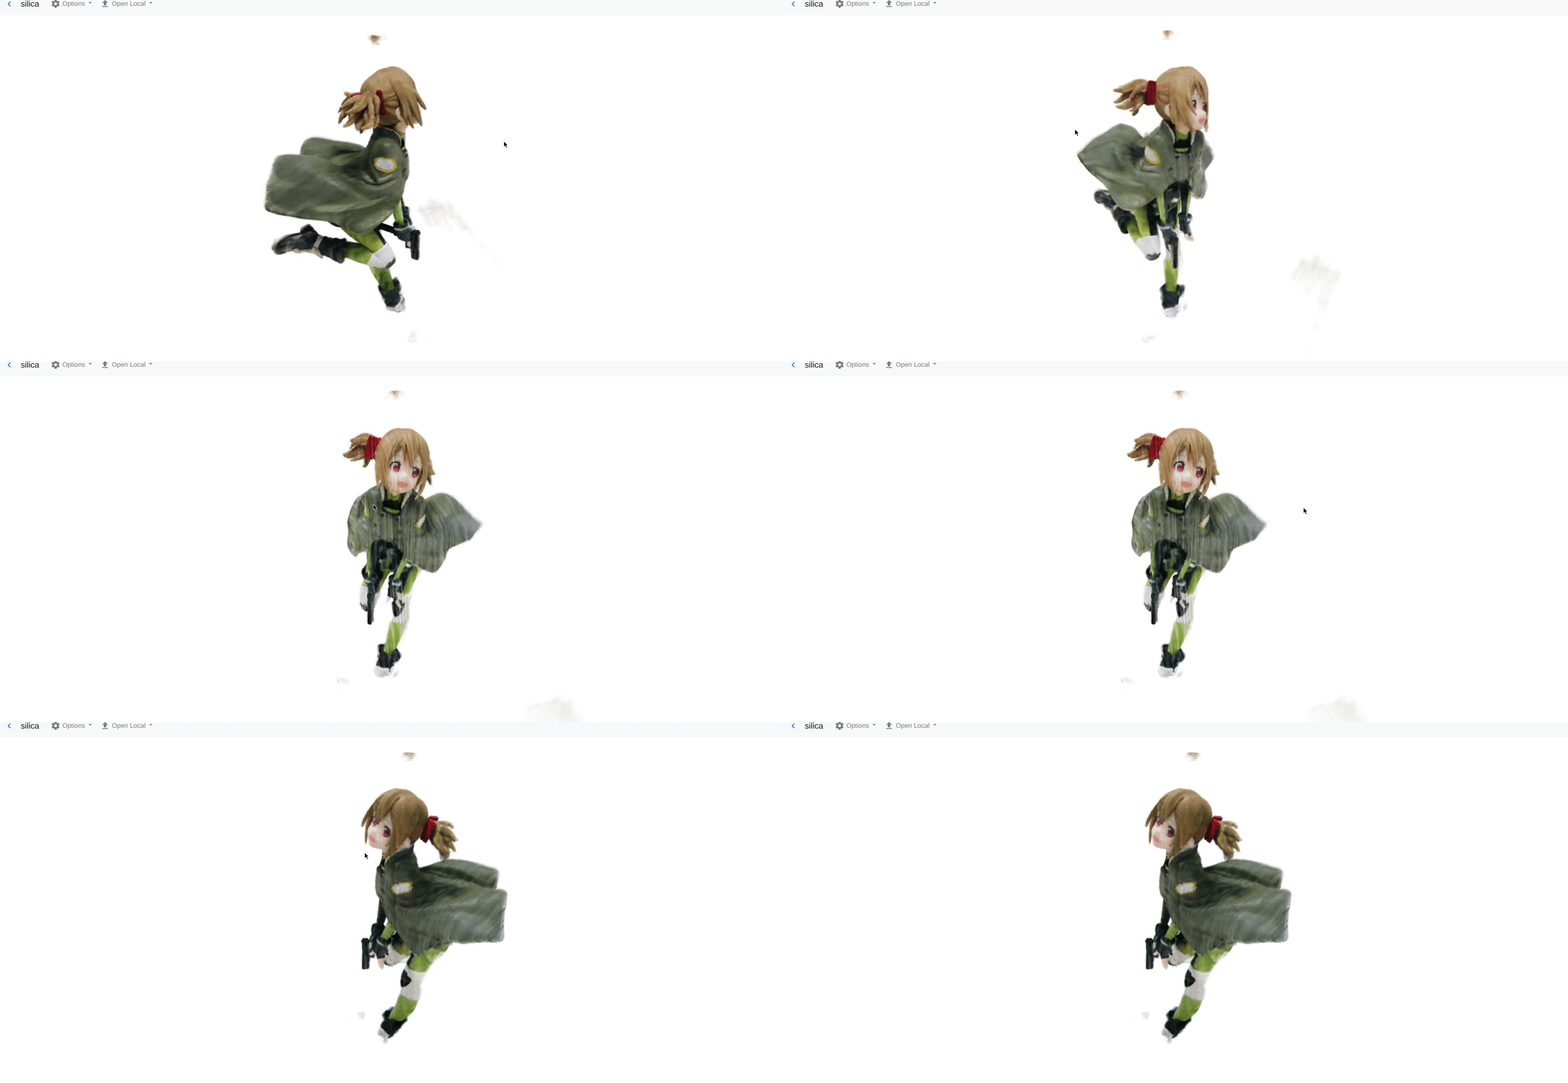
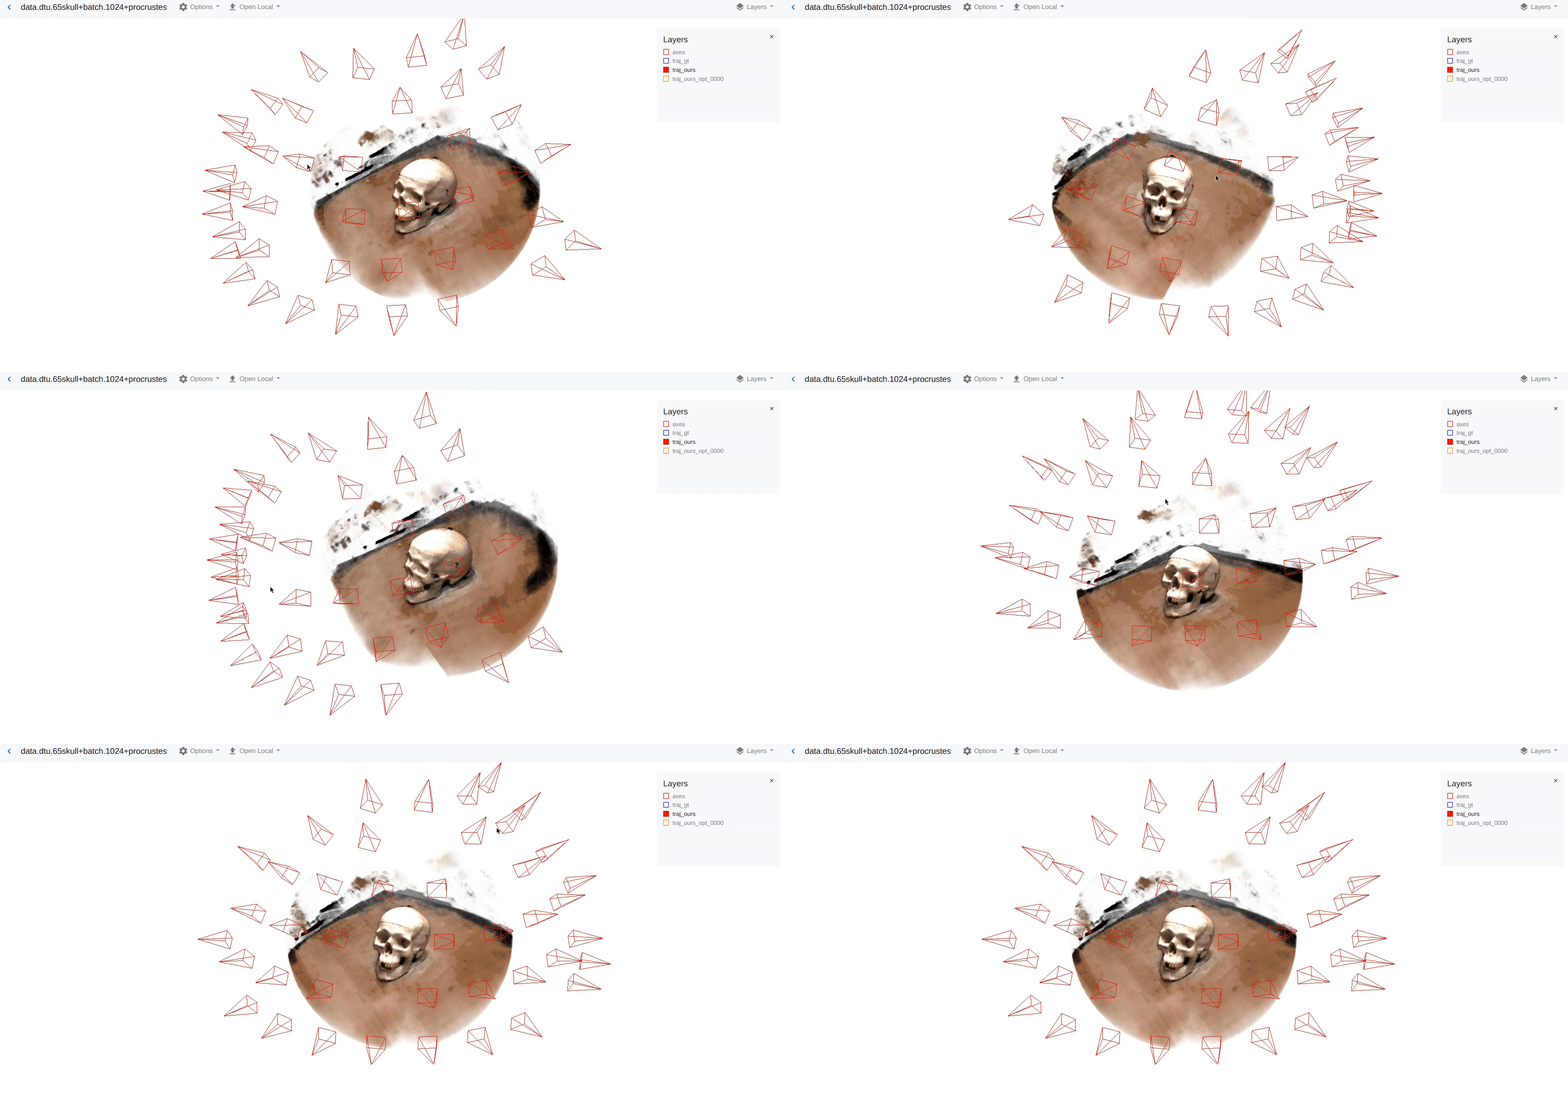
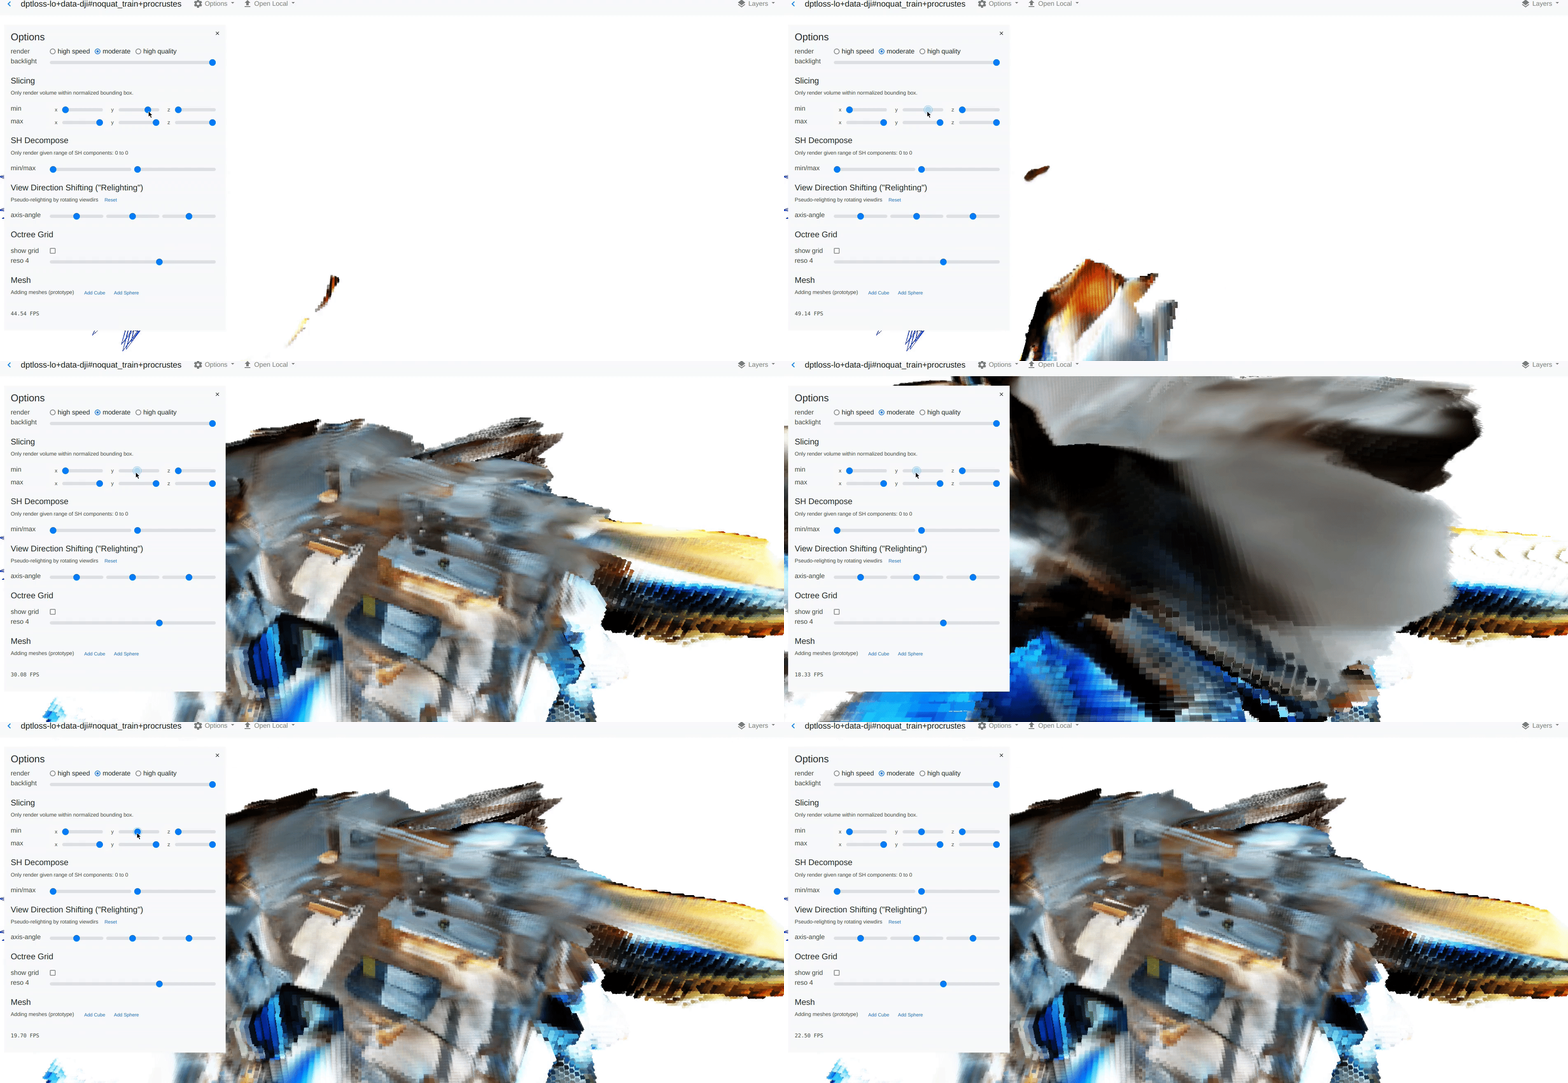
In-browser 3D visualization library for rapid prototyping with built-in support for diffuse view-dependent sparse volumes (PlenOctrees).
Install with:
pip install nerfvis
Note: this is purely Python + webasm/js/css/html and installs instantly (does not need any C++ compilation).
Docs: https://nerfvis.readthedocs.org
Instant example: pip install nerfvis, then
>>> from nerfvis import scene
>>> scene.add_cube("Cube1", color=[1.0, 0.0, 0.0])
>>> scene.display(port=8888)
Inside a Jupyter notebook, you can try using scene.embed() instead.
For example of use with data visualization (not NeRF): http://alexyu.net/nerfvis_examples/bicycle_vis/ Data from Mip-NeRF 360 (Barron et al. CVPR 2022)
Please also see examples/nerf_pl for an example of how to visualize your own NeRF:
https://github.com/sxyu/nerfvis/tree/master/examples/nerf_pl.
You may also refer to the as the scene.add_nerf function doc: https://nerfvis.readthedocs.io/en/latest/nerfvis.html#nerfvis.Scene.add_nerf
Based on PlenOctrees: https://github.com/sxyu/plenoctrees
The following screenshots are out of date but still convey some of the functionality:
Tips:
- A list of all objects with the names you gave them will be displayed in a tree view on the left side of the screen, where you can toggle them. F-strings are recommended for automatically generating object names
- Use "/" inside names for example
image/0to create nested trees. - For convenience, we accept numpy arrays, torch Tensors, and lists in general for any arguments marked at
np.ndarray(by default torch is not imported to avoid having it as a dependency). - The initial camera pose will be automatically determined. Pass
center=[x, y, z](camera position) ,origin=[x,y,z](camera target),forward=[x,y,z](forward vector),world_up=[x,y,z](world space up vector) to display() or export() or embed() to manually set an initial pose. A convenience functionscene.set_opencv()is given to set the world up axis to-y(this also changes the default behavior ofadd_image). - Use
scene.export("path")to manually generate a directory you can open in the browser or upload somewhere
from nerfvis import scene
import numpy as np

density = 1.0 / (np.linalg.norm((np.mgrid[:100, :100, :100].transpose(1, 2, 3, 0) - 45.5) / 50,
                         axis=-1) + 1e-5)  # (Dx, Dy, Dz)
color = np.zeros((100, 100, 100, 3), dtype=np.float32) # (Dx, Dy, Dz, 3)
color[..., 0] = 1.0
color[..., 1] = 0.5
scene.add_volume('My volume 1', density, color, scale=0.2, translation=[-1, 0, 0])

color[..., 1] = 0.0
scene.add_volume('My volume 2', density, color, scale=0.2, translation=[1, 0, 0])
scene.display() # or embed(), etc
For an example with a few more objects, see examples/hierarchy.py, which outputs
http://alexyu.net/nerfvis_examples/basic_scene_with_volume/
For directly displaying a plenoctree checkpoint: examples/load_plenoctree_ckpt.py.
Note that the checkpoint better be reasonably small or this will take forever...
from nerfvis import scene
# Download from
# https://drive.google.com/drive/u/1/folders/1vGXEjb3yhbClrZH1vLdl2iKtowfinWOg
scene.set_title("Lego Bulldozer using nerfvis")
scene.add_volume_from_npz('Lego', "lego.npz", scale=1.0)
scene.display() # or embed(), etcGiven:
- camera-to-world poses
c2win OpenCV convention(n_images, 4, 4)(also easy to use OpenGL convention: use z=-1 and opengl=True below) - focal length, image size
- COLMAP point cloud
(n_points, 3)(optional), optionally with errors(n_points,) - Images
(n_images, h, w)
Note that OpenCV poses are now preferrred, although the original NeRF/PlenOctrees used OpenGL.
from nerfvis import scene
# Set -y up world, and also flips the image
scene.set_opencv()

# To show have errors
colors = np.zeros_like(point_cloud)
colors[:, 0] = point_cloud_errs / point_cloud_errs.max()
scene.add_points("points", point_cloud, vert_color=colors)
# Else
# scene.add_points("points", point_cloud, color=[0.0, 0.0, 0.0])
scene.add_camera_frustum("cameras", r=c2ws[:, :3, :3], t=c2ws[:, :3, 3], focal_length=f,
                         image_width=images.shape[2], image_height=images.shape[1],
                         z=0.1, connect=False, color=[1.0, 0.0, 0.0])

for i in range(len(c2w)):
    scene.add_image(
                  f"images/i",
                  images[i],
                  r=c2ws[i, :3, :3], t=c2ws[i, :3, 3],
                  focal_lenght=f,
                  z=0.1,
                  image_size)
scene.add_axes()
scene.display()
Example outputs (not quite the same code): http://alexyu.net/nerfvis_examples/basic_scene_with_volume/ http://alexyu.net/nerfvis_examples/bicycle_vis/ Data from Mip-NeRF 360 (Barron et al. CVPR 2022)
This is the most flexible way to directly discretize and show a NeRF, albeit a bit clunky to use and requiring extra dependencies.
Example: please see examples/ for how to view NeRF models; currently contains an example for nerf_pl (https://github.com/kwea123/nerf_pl):

import nerfvis
scene = nerfvis.Scene("My title")
scene.add_cube("Cube1", color=[1.0, 0.0, 0.0], translation=[-1.0, -1.0, 0.0])
scene.add_axes()
scene.add_nerf("NeRF", nerf_func, center=[0.0, 0.0, 0.0], radius=1.5, use_dirs=True)
scene.display(port=8889)
# Tries to open the scene in your browser
# (you may have to forward the port and enter localhost:8889 manually if over ssh)
Use display(open_browser=False) to prevent opening the browser (while serving the website)
You can also add meshes, points, lines (see docs). Note that each object e.g. cube, mesh, points, etc. must have a unique name to identify it right now. You may programmatically generate this. They will show up in the layers pane (top right of the html viewer) New in 0.0.6: Use / in the name e.g. cubes/red/cube001 to put meshes into folders in the layers pane.
Please also pip install torch svox tqdm scipy for adding NeRF (set_nerf)
or pip install trimesh for using add_mesh_from_file(path).
To add cameras (also used for scaling scene, initializing camera etc), use
add_camera_frustum(focal_length=.., image_width=.., image_height=.., z=.., r=.., t=..)
This project contains a index.html containing inlined wasm, which comes from volrend, the branch nerfvis_base, compiled using Emscripten as per the instructions in that repo.
If you find this useful please consider citing
@inproceedings{yu2021plenoctrees,
      title={{PlenOctrees} for Real-time Rendering of Neural Radiance Fields},
      author={Alex Yu and Ruilong Li and Matthew Tancik and Hao Li and Ren Ng and Angjoo Kanazawa},
      year={2021},
      booktitle={ICCV},
}
License: BSD 2-clause

