According to the official Airflow Installation docs, there are several ways to install Airflow 2 locally. To encourage standardization of local environments at Avant, we offer our own instructions for installing Airflow.
brew install helm
brew install derailed/k9s/k9s
Install Docker Desktop, and use your Avant email to create a Docker account.
git clone https://github.com/dylan-turnbull/airflow-local.gitThis setup enables to you to point Airflow to any local directory containing DAG files: the DAGs needn't be in this repository in order for you to run them. We'll copy example DAGs from this repo to a new location to demonstrate this.
export DAGS_DIR="Documents/airflow-dags"
mkdir ~/${DAGS_DIR}
cp -r airflow-local/example-dags/* ~/${DAGS_DIR}Airflow will be run in kubernetes via helm. We'll set it up in a namespace called airflow per the instructions that follow.
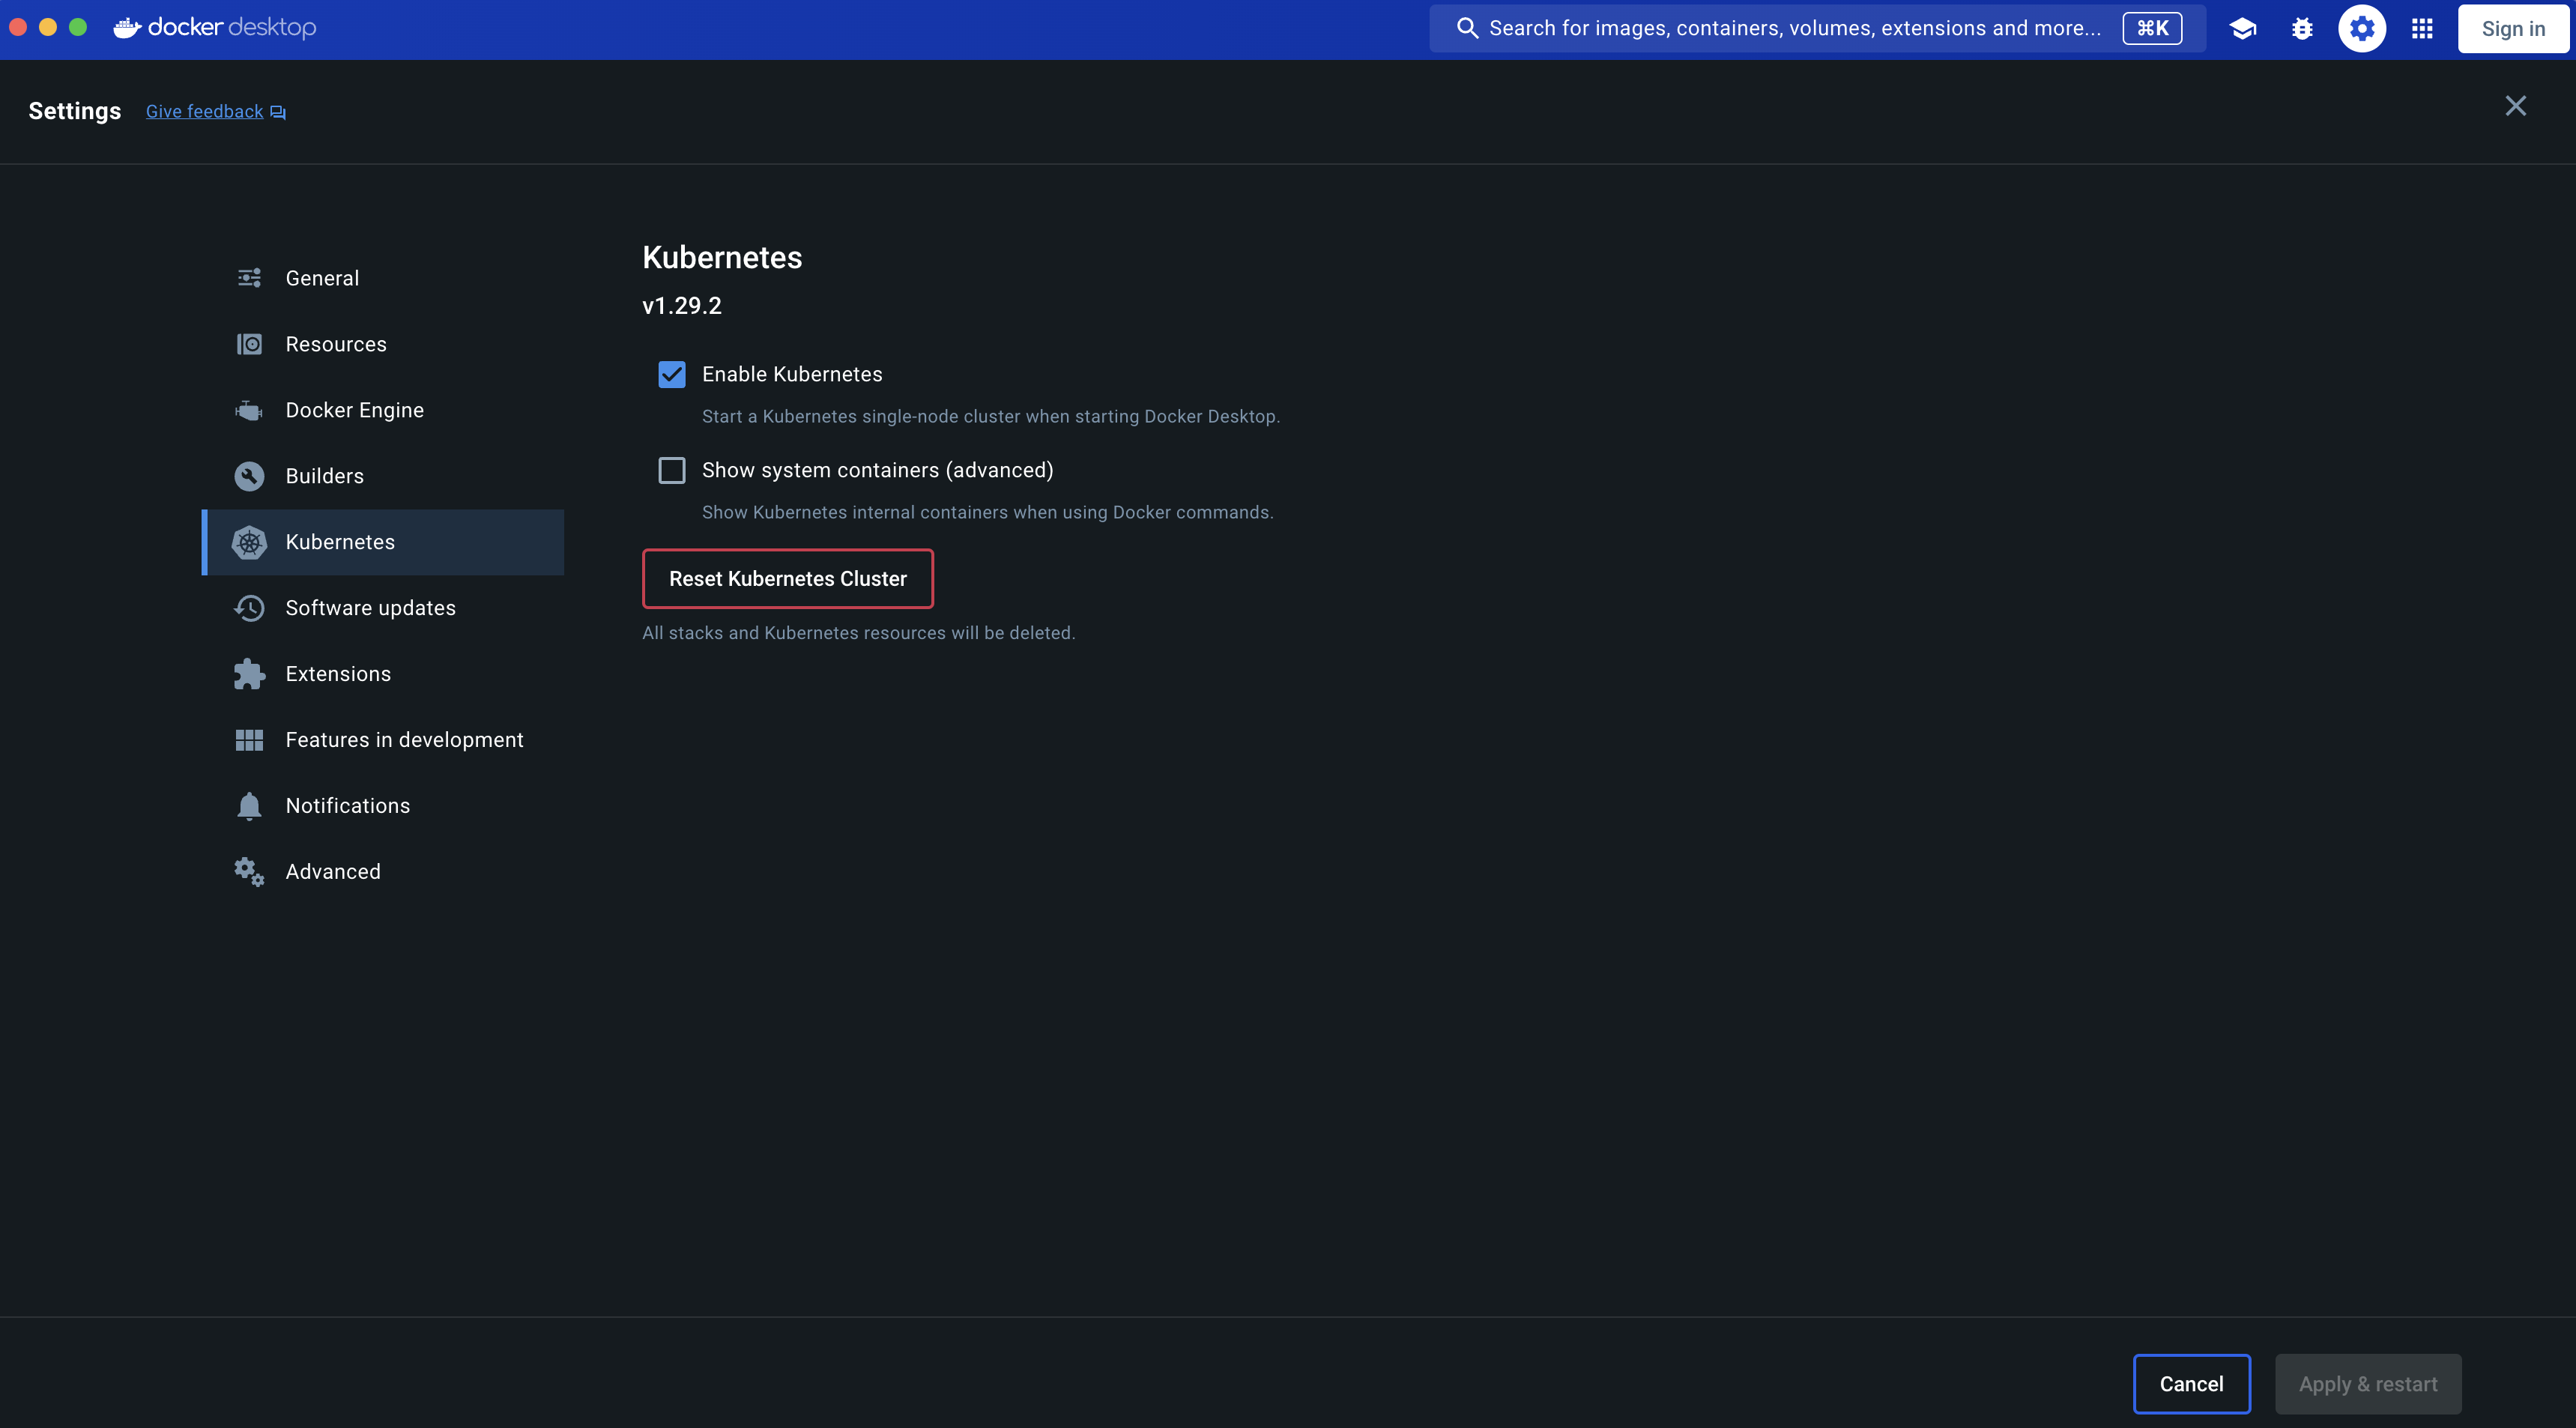
Enable kubernetes in your docker settings. This will configure your local kubernetes environment to run in the docker-desktop context. You can alternatively run via minikube if preferred.
Restart docker desktop.
helm repo add apache-airflow https://airflow.apache.org/
helm repo updateKubernetes will access our local DAG files through a persistent volume and persistent volume claim. This is similar to volume mounting local directories to a container when using docker-compose.
Update the value of spec.hostPath.path in airflow-volume.yml to the directory that you copied the example DAGs to in the preceeding section. Note that the full path is required, e.g. "/Users/<user>/Documents/airflow-dags" and not "~/Documents/airflow-dags".
kubectl apply -f airflow-local/airflow-volume.yml --namespace airflowhelm install airflow apache-airflow/airflow --namespace airflow -f values.ymlYou should now have an installed Airflow chart (with release name "airflow" and namespace "airflow"). Confirm this by running helm list --namespace airflow.
NAME     NAMESPACE  STATUS    CHART           APP VERSION
airflow  airflow    deployed  airflow-1.13.1  2.8.3
Now open a new terminal and run k9s --namespace airflow. All pods should be running.

You need to make the Airflow webserver accessible to your local machine:
- Arrow down in
k9sto thewebserverpod - Type
<shift>+<f> - Select
OK
In your web browser, go to http://localhost:8080/home. Log into Airflow with username admin and password admin.
- Click on DAG in the home page
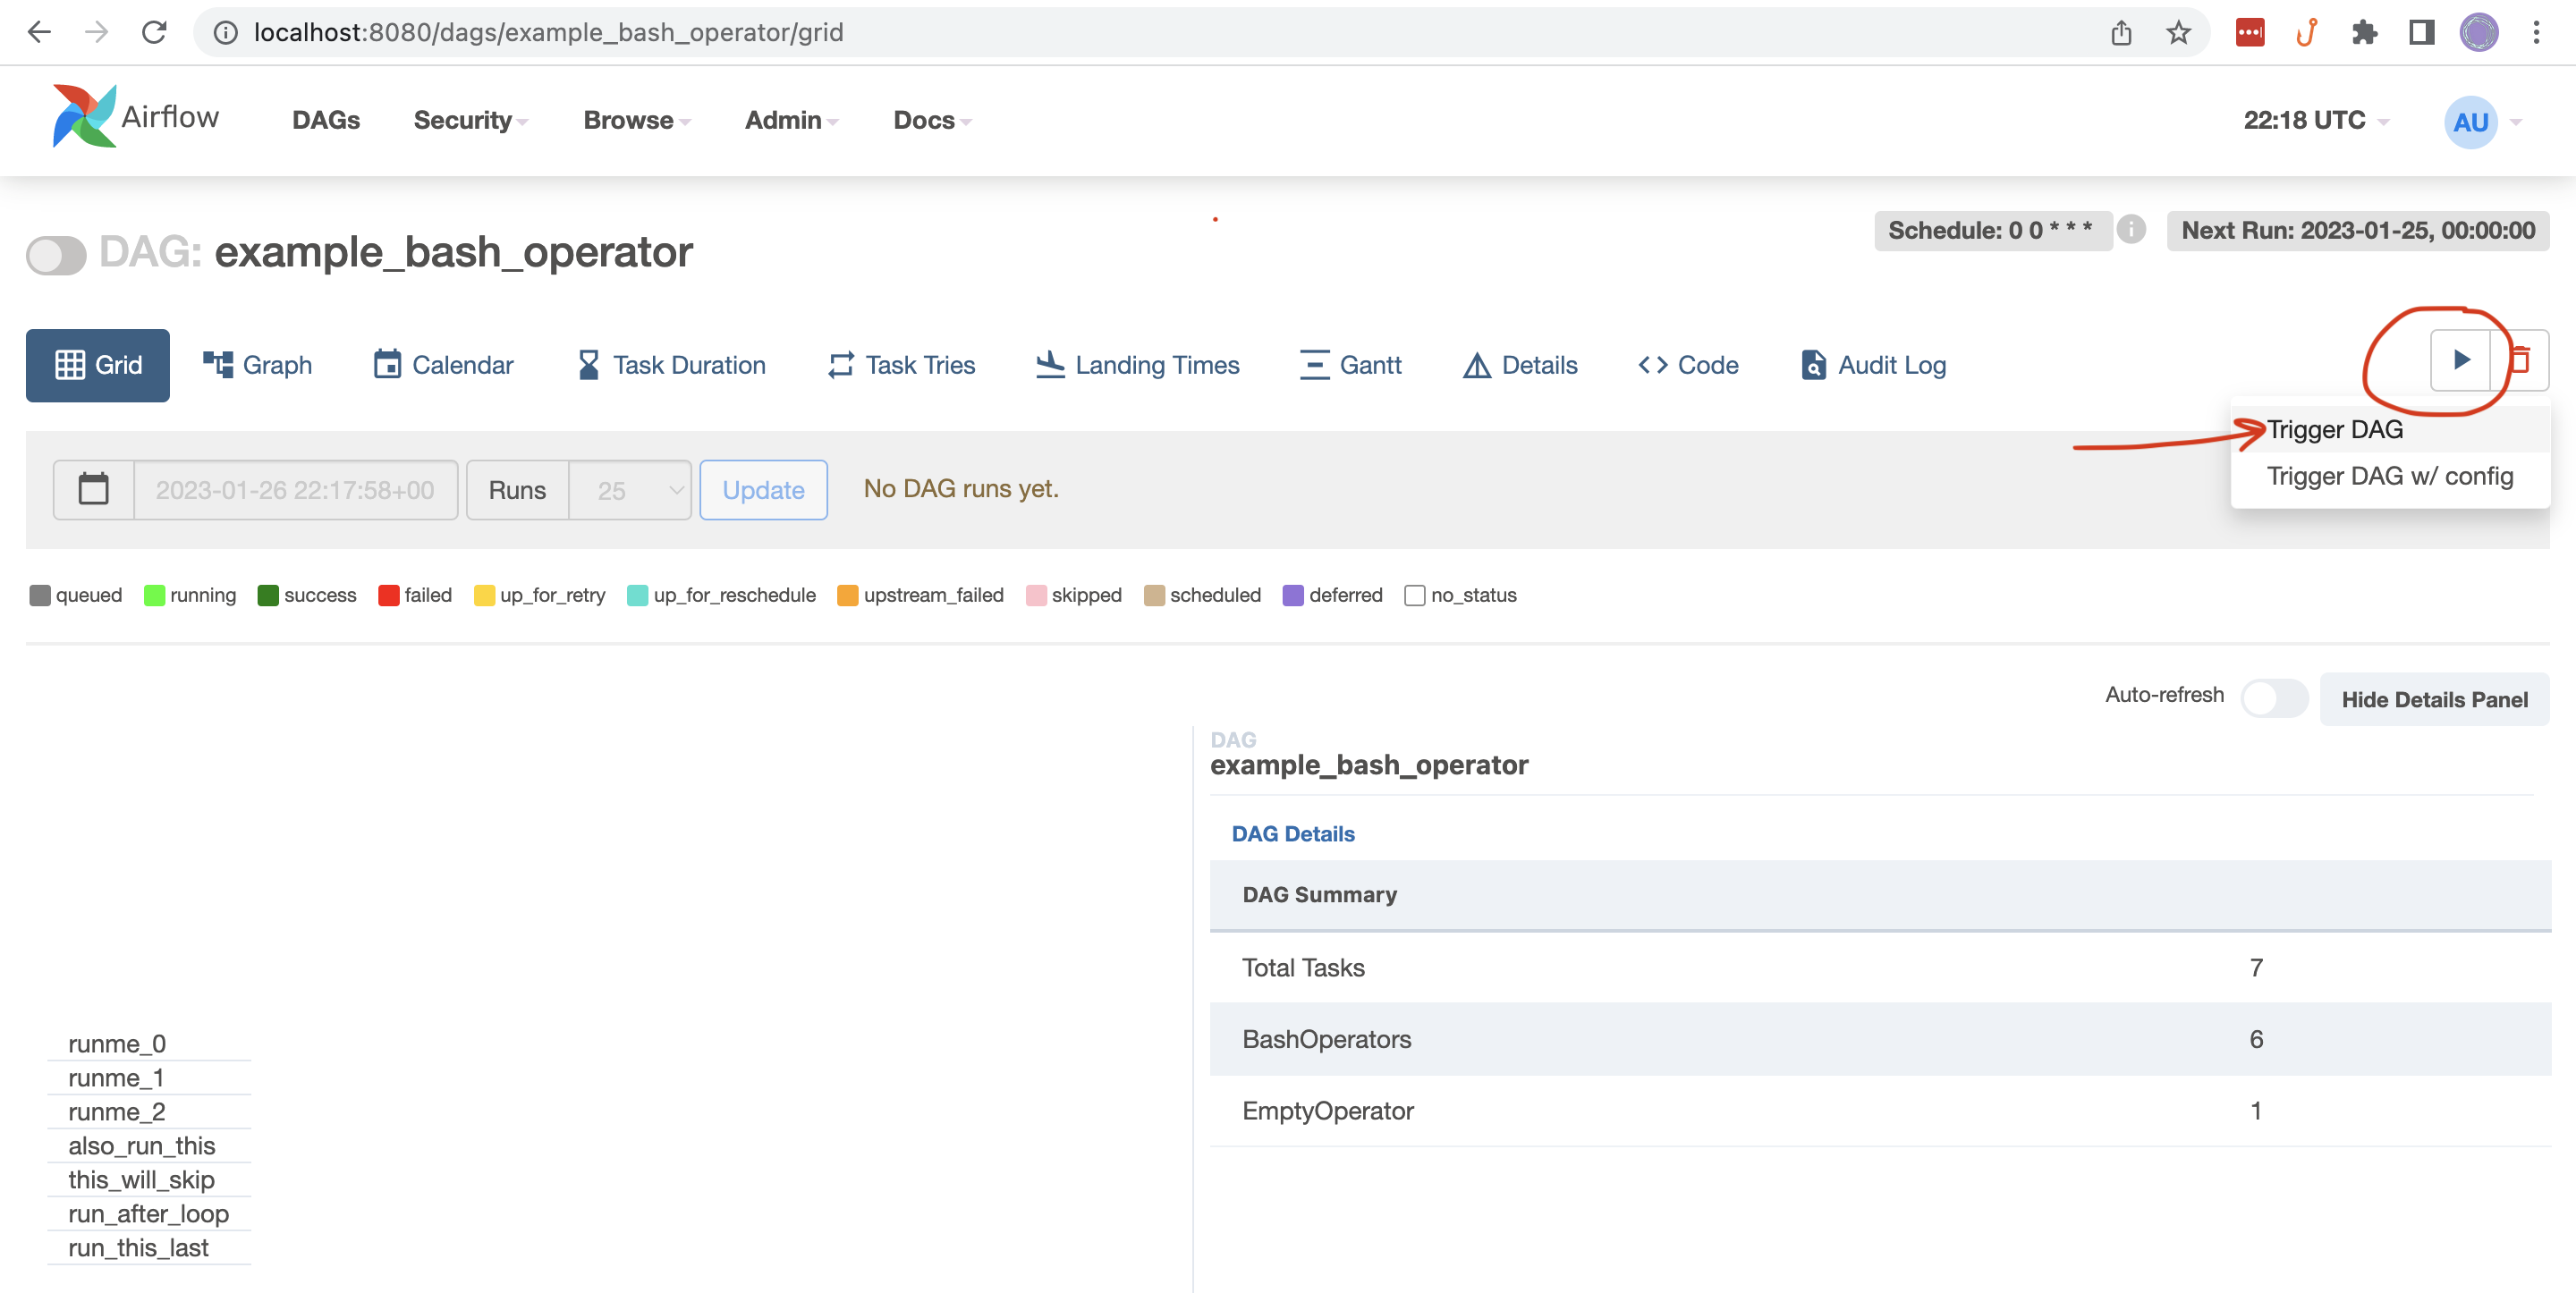
- Click "play" button in the DAGs page
-
In
k9s, access the shell of thewebservercontainer using<s>
-
Type
exitin the shell to return tok9s
Restart the webserver pod when you make a change to a DAG file. Do this in k9s with <ctrl> + <d> with the pod selected. The existing pod will terminate and the new pod will reflect your DAG changes. You'll need to port-forward the webserver again if interacting with the UI.
- Drill down through pods, containers, and logs with
<return> - Go back up a level with
<esc> - Enter a container's shell with
<s> - Delete elements with
<ctrl> + <d> - General navigation with
<shift> + <;>podnamespacepersistentvolumepvc
Complete the basic setup prior to proceeding through this section.
Follow these steps to extend the base Airflow image as desired, e.g. to add a databricks provider.
-
Create a copy of the Dockerfile in this repo
cp airflow-local/Dockerfile ~/${DAGS_DIR}/Dockerfile
-
Edit the new dockerfile like so
FROM apache/airflow COPY . /opt/airflow/dags RUN pip install --no-cache-dir apache-airflow-providers-databricks -
Build the image
docker build --pull --tag my-image:0.0.1 ~/${DAGS_DIR}
helm install airflow apache-airflow/airflow \
    --namespace airflow \
    -f airflow-local/values.yml \
    --set images.airflow.repository=my-image \
    --set images.airflow.tag=0.0.1 \
    --wait=false


