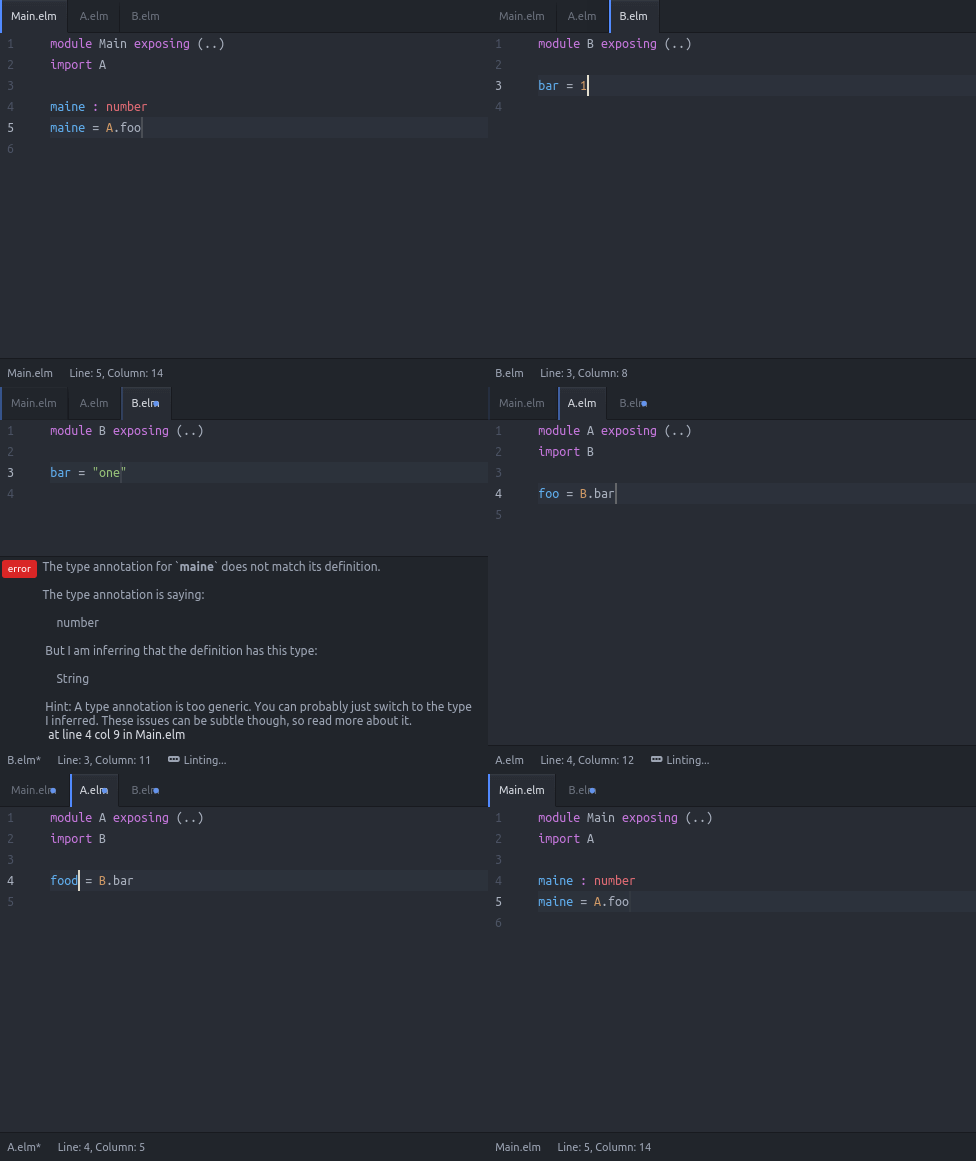
https://atom.io/packages/linter-elm-make
Lint your Elm files in Atom with linter and elm-make.
- Install Elm.
- Install linter, language-elm, and linter-elm-make from the Settings view (
Edit>Preferences>Install) or by running these from the command line:
apm install linter
apm install language-elm
apm install linter-elm-make
-
If you want to use Nuclide in lieu of linter, check this compatibility guide. You may also use atom-ide-ui instead.
-
You can also use the Intentions package instead of the default
Quick FixUI.
- Run
which elm-make(Unix/Linux) orwhere.exe elm-make(Windows) from the command line and set the result as your executable path in this installed package's configuration.
By default, linting is only done after saving the file. If you want to lint while typing, turn on the Lint On The Fly option in the package settings. Also make sure that the Lint on Change option (Lint As You Type for Linter v1) is enabled in the linter package settings.
NOTE: Linting on the fly is experimental and currently works by copying the source files to the Work Directory (or to a temporary directory if Work Directory is blank) and running elm-make there.
If enabled, the main file(s) will always be compiled instead of the active file. The main files can be set using Linter Elm Make: Set Main Paths. If not set, the linter will look for Main.elm files in the source directories. Take note that if this is enabled, modules unreachable from the main modules will not be linted. Disabled by default.
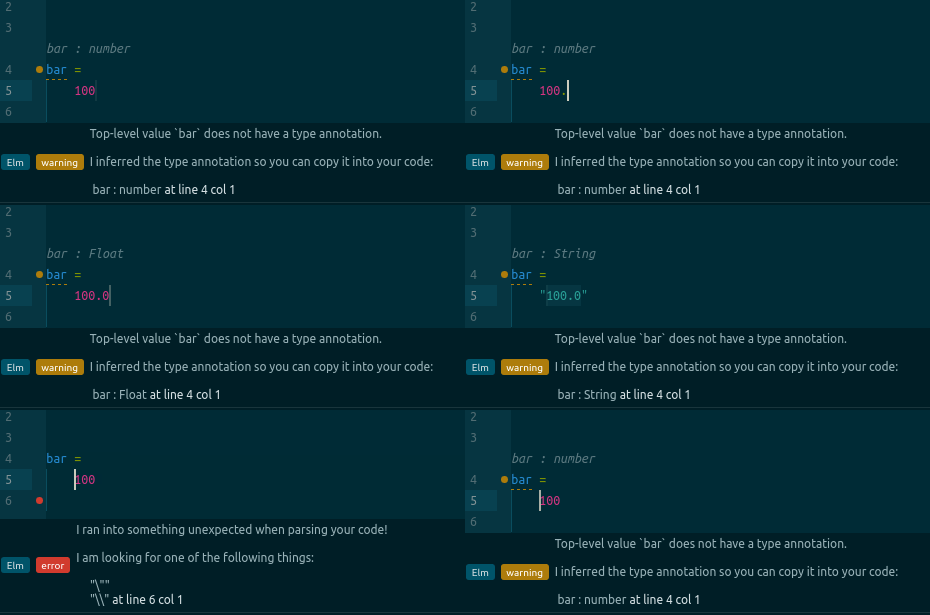
Show elm-make warnings. Enabled by default.
Note: This will only work if Report Warnings is also checked.
- With
Lint On The Flydisabled:
- With
Lint On The Flyenabled:
This is an experimental feature that uses Datatips instead of the Diagnostics UI (from Nuclide or atom-ide-ui) to show the issues. This also enables integration with the elmjutsu package.
- You can also invoke the
Datatip: Togglecommand instead of mousing over the problematic text range.
-
If this is not blank, the linter will copy the source files from the project directory into this directory and use this as the working directory for
elm-make. This can be an absolute path or relative to the path ofelm-package.json.If
Lint On The Flyis disabled, this option will prevent the linter from using your project directory'selm-stuff. This can be useful if you're using other tools to build your output files. -
If this is blank and
Lint On The Flyis enabled, the linter will create a temporary directory before running the first linting process for the project. It will then copy the source files from the project directory into the temporary directory. The linter will do all of this again when Atom gets restarted. Setting the value ofWork Directorywill shorten the duration of the first lint after a restart since the linter does not need to create a temporary directory and copy files anymore. -
If this is blank and
Lint On The Flyis disabled, the linter will use the project directory as the working directory forelm-make.
If this option is not blank, a file watcher will watch the project directory for source file changes and synchronize those with the work directory.
IMPORTANT WARNING: If the current work directory is inside the project directory and you want to change the value of Work Directory in the settings, delete the current work directory first! Else, the linter will consider that directory as part of your project!
If this option makes no sense and/or is confusing, just leave it blank. :)
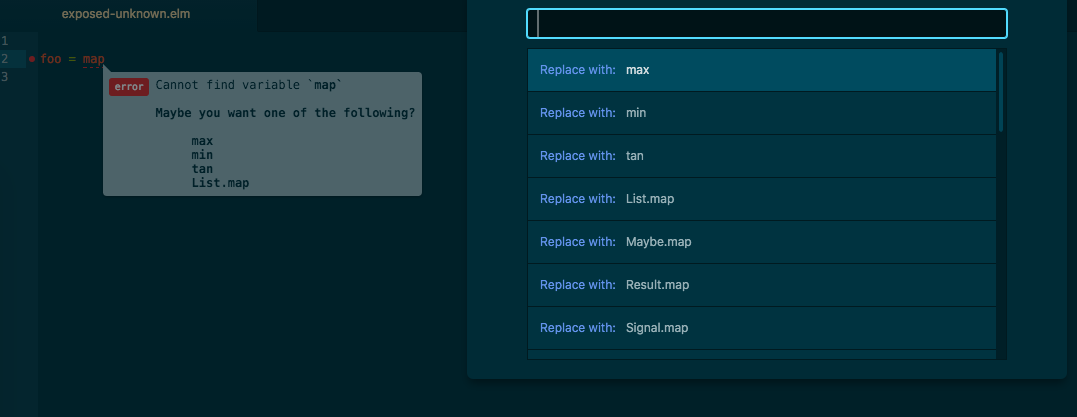
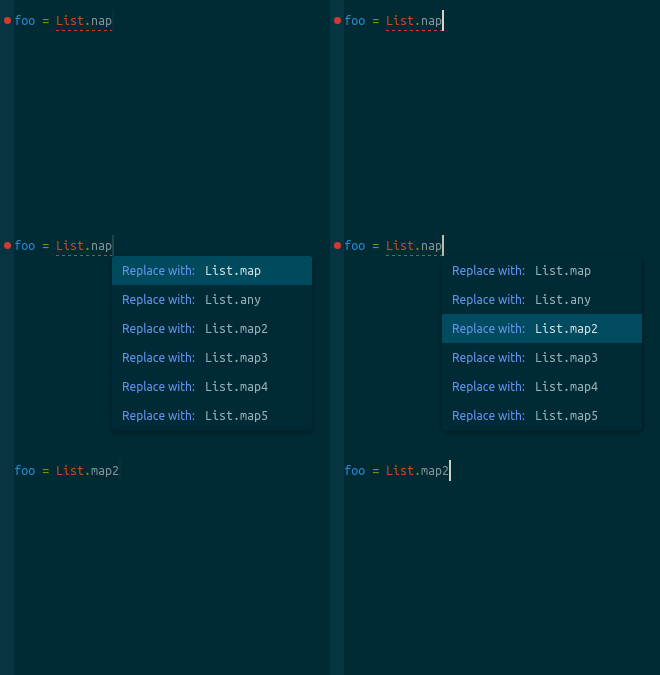
Move your cursor to a problematic text range and invoke this command to show the possible fixes. Select a fix from the list to apply it to your code.
- If you have Intentions installed, you can invoke the
Intentions: Showcommand instead.
- If you have atom-ide-ui installed, you can invoke the
Diagnostics: Show Actions At Positioncommand instead, or click on the appropriate button from the panel. You can uncheckShow Code Actionsin the Settings view if you do not want to show the buttons.
The number of available fixes for a given cursor position is shown with the linter tooltip and in the status bar.
- Available Quick Fixes
- Replace with
- Add type annotation
- Remove unused import
- Add import
- Add import as
- Add missing patterns
- Fix module name
- Run
elm package install - Define top-level
- Change type annotation
- Convert to port module
Fixes all issues in the active text editor in one go. If there is more than one fix for an issue, it will choose the first from the list.
Sets the main paths of the project and saves them to linter-elm-make.json.
Example:
{
  "mainPaths": ["Todo.elm", "Test.elm"]
}
The main paths are only relevant if Always Compile Main is enabled. See above.
Deletes the .elmi and .elmo files in your project's build artifacts directory (e.g. elm-stuff/build-artifacts/0.17.0/user/project/1.0.0). This is useful after toggling Lint On The Fly and/or Always Compile Main to prevent confusing lint results. If using a work directory or temporary directory, the artifact files of that directory will also be deleted.
Here is an example:
'atom-text-editor:not([mini])[data-grammar^="source elm"]':
  'shift-f6': 'linter-elm-make:quick-fix-all'

  # Add this to use the default UI:
  'f6': 'linter-elm-make:quick-fix'

  # Add this instead if you want to use the Intentions UI:
  'f6': 'intentions:show'

  # Add this instead if you want to use `atom-ide-ui`:
  'f6': 'diagnostics:show-actions-at-position'

'.linter-elm-make atom-text-editor[mini]':
    'f6': 'core:confirm'
Add them to your keymap.cson or bind them from Settings > Keybindings.
Useful linter Commands
Linter v2:
Linter Ui Default: NextLinter Ui Default: PreviousLinter Ui Default: Toggle Active Editor
Linter v1:
Linter: Next ErrorLinter: Previous ErrorLinter: Toggle
-
Also check out the settings view for the
linterandlinter-ui-default(for Linter v2) packages for the available options. -
The boilerplate code here is repurposed from linter-hlint. Much thanks to its contributors.


