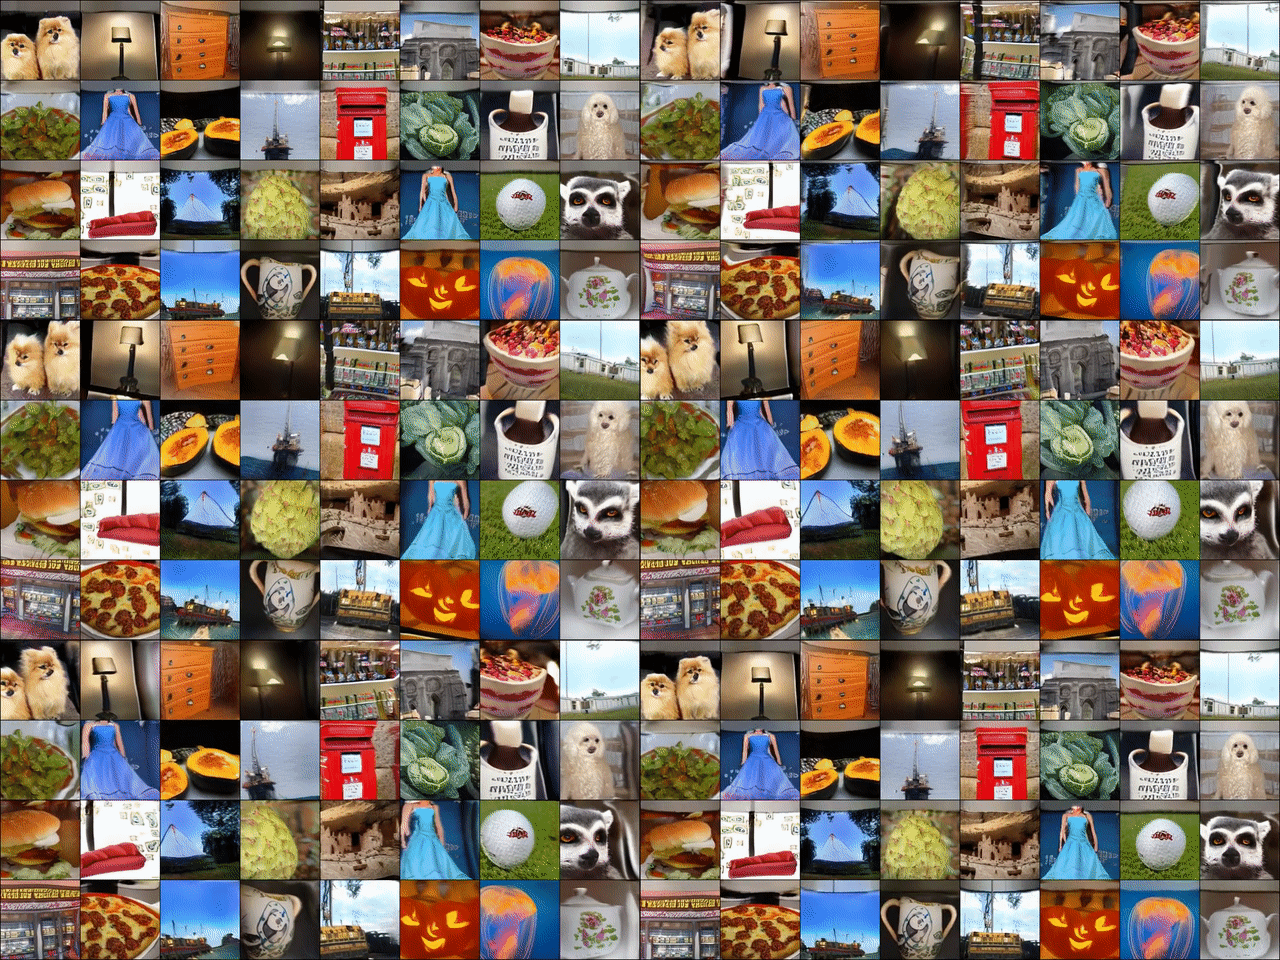
[Project page] [Paper] [OpenReview]
Release progress:
- Installation guide
- Training code
- Inference/visualization code
- Datasets
- Data preprocessing scripts
- ImageNet checkpoint (there is our old one available here, but it is only compatible with our old code version).
- Checkpoints for satellite datasets
- Docker container
To install and activate the environment, run the following command:
conda env create -f environment.yml -p env
conda activate ./env
This repo is built on top of StyleGAN3, so make sure that it runs on your system.
First, download ImageNet, and then filter it out to remove the outliers with InceptionV3 with the procedure proposed by Instance Selection for GANs.
You can use our scripts/data_scripts/run_instance_selection.py script for this (for ImageNet we do this class-wise in the same manner as in Instance Selection for GANs).
Note, that we always compute FID on the full ImageNet.
Now, you need to extract the depths with LeReS.
We refer to the LeReS repo for this.
The depth maps should be saved under the same names as the images, but with the ._depth.png extension at the end (intead of .jpg or .png in the image file name --- see our provided datasets).
You might find the script scripts/data_scripts/merge_depth_data.py useful since it merges the image files with depth files into a single directory, taking into account that LeReS failed to produce depth maps for some of the images.
After that, you need to resize the dataset into 256x256 (and also the depth maps). You can do this by running the following command:
python scripts/data_scripts/resize_dataset.py -d /path/to/imagenet -t /path/to/imagenet_256 -s 256 -j <NUM_JOBS> -f '.png'
Finally, you need to extract the ResNet-50 features for the dataset. We do this via the following command:
python scripts/data_scripts/extract_features.py dataset_path=/path/to/dataset embedder_name=timm +embedder_kwargs.model_name=resnet50 trg_path=/path/to/save/embeddings_resnet50.memmap
For ImageNet 256x256 training, we run the following command:
python src/infra/launch.py hydra.run.dir=. desc=MY_EXP_NAME dataset=imagenet dataset.resolution=256 model.loss_kwargs.gamma=0.05 training.resume=null num_gpus=4 model.generator.cmax=1024 model.discriminator.cmax=1024 model.generator.cbase=65536 model.discriminator.cbase=65536
Note, that the training might diverge at some point (in our experience, it diverges 1-2 times during the first 1-5K kimgs) — if that happens, continue training from the latest non-diverged checkpoint.
To make the training more stable, you can use a more narrow prior for field-of-view: camera.fov.min=10 camera.fov.max=21 camera.cube_scale=0.35
For the satellite datasets (dogs/horses/elephants), we use normal sizes for generator/discriminator (e.g., running them without the model.generator.cmax=1024 model.discriminator.cmax=1024 model.generator.cbase=65536 model.discriminator.cbase=65536 arguments).
To continue training, launch:
python src/infra/launch.py hydra.run.dir=. experiment_dir=<PATH_TO_EXPERIMENT> training.resume=latest
If you use slurm or some cluster training, you might be interested in our cluster training infrastructure.
We leave our A100 cluster config in configs/env/raven-local.yaml as an example on how to structure the config environment in your own case.
In principle, we provide two ways to train: locally and on cluster via slurm (by passing slurm=true when launching training).
By default, the simple local environment configs/env/local.yaml is used, but you can switch to your custom one by specifying env=my_env argument (after your created my_env.yaml config in configs/env/).
During training, we track the progress by regularly computing FID on 2,048 fake images (versus all the available real images), since generating 50,000 images takes too long. To compute FID for 50k fake images after the training is done, run:
python scripts/calc_metrics.py hydra.run.dir=. ckpt.network_pkl=<CKPT_PATH> data=<PATH_TO_DATA> mirror=true gpus=4 metrics=fid50k_full img_resolution=<IMG_RESOLUTION>
If you have several checkpoints for the same experiment, you can alternatively pass ckpt.networks_dir=<CKPTS_DIR> instead of ckpt.network_pkl=<CKPT_PATH>.
In this case, the script will find the best checkpoint out of all the available ones (measured by FID@2k) and computes the metrics for it.
Doing visualizations for a 3D GANs paper is pretty tedious, and we tried to structure/simplify this process as much as we could.
We created a scripts which runs the necessary visualization types, where each visualization is defined by its own config.
Below, we will provide several visualization types, the rest of them can be found in scripts/inference.py.
Everywhere we use a direct path to a checkpoint via ckpt.network_pkl, but often it is easier to pass ckpt.networks_dir which should lead to a directory with checkpoints of your experiment --- the script will then take the best checkpoint based on the fid2k_full metric.
Please see configs/scripts/inference.yaml for the available parameters and their desciptions.
To generate multi-view videos with a flying camera, run this command:
python scripts/inference.py hydra.run.dir=. ckpt.network_pkl=/path/to/checkpoint.pkl batch_size=4 num_seeds=1 classes=1-16 vis=video_grid trajectory=front_circle output_dir=/path/to/output img_resolution=256 vis.num_videos_per_grid=4
To generate the multi-view image grids for some camera trajectory, run this command:
python scripts/inference.py hydra.run.dir=. ckpt.network_pkl=/path/to/checkpoint.pkl batch_size=4 num_seeds=2 vis=image_grid output_dir=/path/to/output/dir img_resolution=256 classes=1-4 trajectory=points vis.nrow=2
There are different flying camera trajectories available, specified in configs/scripts/trajectory.
Each of them have its own hyperparameters, which can be found in the corresponding config.
@inproceedings{3DGP,
    title={3D generation on ImageNet},
    author={Ivan Skorokhodov and Aliaksandr Siarohin and Yinghao Xu and Jian Ren and Hsin-Ying Lee and Peter Wonka and Sergey Tulyakov},
    booktitle={International Conference on Learning Representations},
    year={2023},
    url={https://openreview.net/forum?id=U2WjB9xxZ9q}
}
@inproceedings{3dgp,
    title={3D generation on ImageNet},
    author={Ivan Skorokhodov and Aliaksandr Siarohin and Yinghao Xu and Jian Ren and Hsin-Ying Lee and Peter Wonka and Sergey Tulyakov},
    booktitle={International Conference on Learning Representations},
    year={2023},
    url={https://openreview.net/forum?id=U2WjB9xxZ9q}
}
