These Repo is a collection of all the install instructions and it's necessary files.
It works, but consider maybe it can brick your phone. ;)
I read over the internet, that only step 2 can brick your phone, these critical part install a custom firmware (TWRP).
The following commands works on LINUX.
You have to follow these steps, if your phone has original software installed.
If you phone is already rooted (has root privileges), e.g. you dont need step "3. enable fastboot".
- list of commands
- preparation
- enable fastboot
- install TWRP v2.8.7.0
- install FFOS 2.6
- install Bluetooth and NFC bugfix for FFOS 2.6
- change Default Network from CDMA to 3G/4G/
Linux hsell commands
- list usb devices (with vendor-id and device-id)
lsusb
-
start your phone in recovery-mode (e.g. TWRP)
sudo adb reboot recovery
-
reboot Phone
sudo adb reboot
-
check if ADB knows your Phone
sudo adb devices
-
connect to your Phone's shell
sudo adb shell
-
show fastboot devices
sudo fastboot devices
-
reboot Phone within fastboot
sudo fastboot reboot
"If you're developing on Ubuntu Linux, you need to add a udev rules file that contains a USB configuration for each type of device you want to use for development" (quote)
make shure the right 51-android.rules exists on your system, else adb can't access your phone
this file should contain the following content:
$ cat /etc/udev/rules.d/51-android.rules
SUBSYSTEM=="usb", ATTR{idVendor}=="1004", MODE="0666", GROUP="plugdev"echo 'SUBSYSTEM=="usb", ATTR{idVendor}=="1004", MODE="0666", GROUP="plugdev"' | sudo tee /etc/udev/rules.d/51-android.rules
sudo chmod a+r /etc/udev/rules.d/51-android.rules-
make shure you insert the right Vendor ID, in our case this should be 1004, (identify-the-usb-devices)
-
disconnect the USB cable between the phone and the computer.
-
reconnect the phone.
-
run Linux-Command:
sudo adb devicesto confirm that Linux has permission to access the phone.you should see something like
$ adb devices
List of devices attached
LGOTMS9db5xxxx  device
make sure the device is powered-up and its conneced to usb device are mainly identified using a pair of hexadecimal numbers, like 1004:6341.
- The 4 first hexadecimal digits are the Vendor ID (1004 = LG-fx0).
- The 4 last hexadecimal digits are the Device ID (3108 = ThinkPad 800dpi Optical Travel Mouse).
to get your device-ID run folliwing command:
lsusb
Settings > Device Information > More Information > Developer* Menu switch (on FFOS).
At first you have to unlock your Device to install Firefox OS.
"WHAT IS ROOTING? Rooting an Android phone or tablet is akin to jailbreaking an iPhone — basically, it allows you to dive deeper into a phone’s sub-system. It will allow you to access the entirety of the operating system to customize just about anything on your Android device. With root access, you can also get around any restrictions that your manufacturer or carrier may have applied. Rooting is best undertaken with caution. You will want to back up your phone’s software before you install — or “flash,” in rooting terms — a custom ROM (modified version of Android)."
"Fastboot mode is important because it is the first step in flashing custom updated and newer builds of Firefox OS/B2G on our phones. Fastboot is the first step because it is the mode that will actually allow us to flash new images (like custom recoveries new Firefox OS versions) to our devices in a mostly safe manner. Access to fastboot mode simply means that our device is unlocked and ready to hack and modify!" (quote)
"What is fastboot? In Android, fastboot is a special diagnostic and engineering protocol that you can boot your Android device into. While in fastboot, you can modify the file system images from a computer over a USB connection. It's a powerful, nerdy tool that deserves to be broken down into terms we all can understand" (quote)
-
check adb knows device
sudo adb devices
-
enter shell (on your Phone from Linux Shell)
sudo adb shell
-
start root (on your Phone from Linux Shell)
su
-
Backup your laf partition before deletion (on your Phone from Linux Shell)
dd if=/dev/block/platform/msm_sdcc.1/by-name/laf of=/sdcard/laf.img
-
exit su login & exit adb shell
exit
exit
-
pull the laf backup (save laf.img from your Phone to current directory)
adb pull /sdcard/laf.img
-
Enter the shell again
sudo adb shell
su
-
Erase laf partition (on your Phone)
dd if=/dev/zero of=/dev/block/platform/msm_sdcc.1/by-name/laf
-
exit again:
exit
exit
-
reboot (your Phone from Linux Shell)
sudo adb reboot- Enter your Phone into FASHBOOT-Mode
- shutdown device
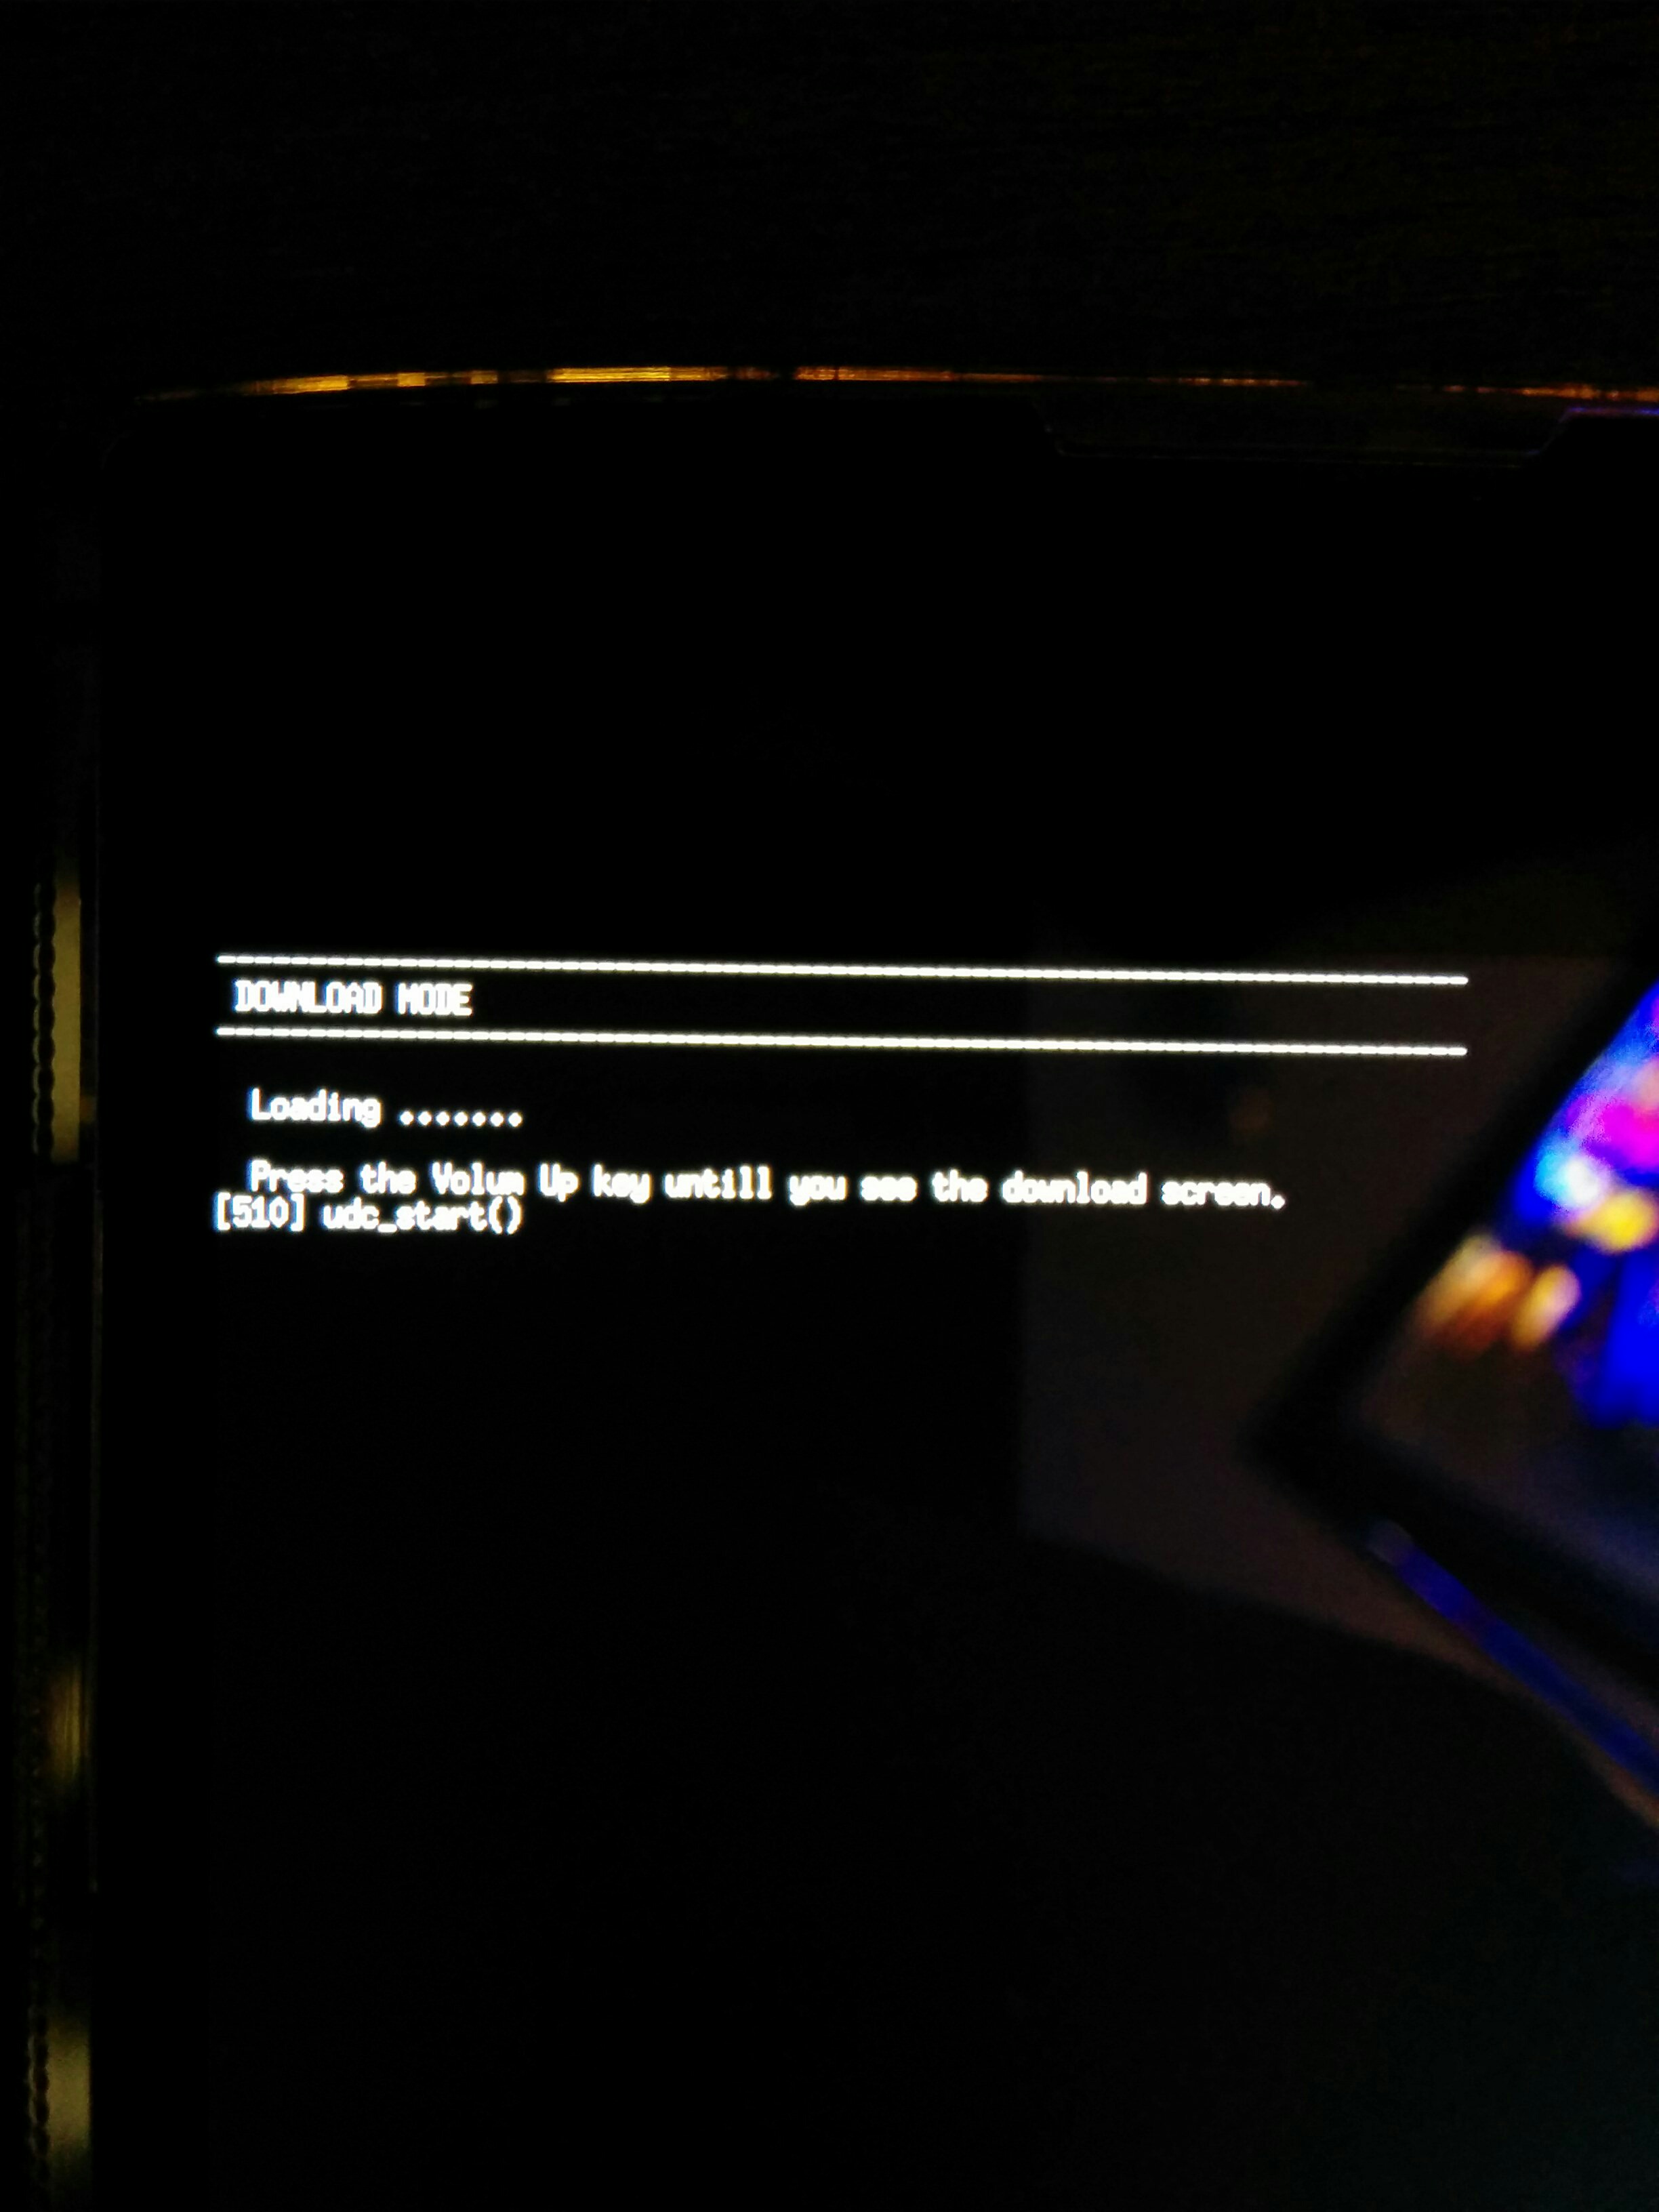
- First hold down the VOLUME UP button and insert a usb cable that is CONNECTED TO A COMPUTER.
If Successful, your Phone should
take a look at ->

https://www.reddit.com/r/FireFoxOS/comments/3uf92h/fx0_lgl25_fastboot_access_and_information https://wiki.debian.org/HowToIdentifyADevice/USB
TWRP is a custom recovery used to install custom software on your Android device.
-
enter your phone into FASHBOOT-Mode
-
shutdown device
-
First hold down the VOLUME UP button and insert a usb cable that is CONNECTED TO A COMPUTER. If Successful, your Phone should take a look at ->

-
install TWRP by comunity-pre-compiled img (from Linux Shell):
sudo fastboot flash recovery twrp_302-madai01.img
-
reboot your device via command OR remove the battery & restart the telephone
sudo fastboot reboot
- boot into recovery mode, to start TWRP-Menu
sudo adb reboot recovery
-
connect the device (eg FFOS is running) to the PC using USB wire (Phone debug-mode and adb enabled)
-
give the install script exec permission:
chmod +x shallow_flash.sh
-
start the script to flash the device (file in folder install_ffos/ffos2_6 )
./shallow_flash.sh --gaia=gaia.zip --gecko=b2g-46.0a1.en-US.android-arm.tar.gz
-
reboot device if successfully
sudo adb reboot
https://ftp.mozilla.org/pub/b2g/nightly/latest-mozilla-central-flame-kk/ https://github.com/Mozilla-TWQA/B2G-flash-tool/blob/master/shallow_flash.sh
It fixes the bluetooth and NFC issues by: Flashing a modified boot image that contains an updated ramdisk (kernel is untouched). This flashable ZIP also fixes the tiny bootanimation problem.
-
connect your Phone to PC via USB and start TWRP
sudo adb reboot recovery
-
copy File fxup.zip to microSD storage
when your phone is connect to your pc, you should see the storage in you file browser and could copy the ZIP file easy to the phone
-
install fxup.zip, within TWRP
don't check the signature verification (ZIP file has no signature)
twrp-menu > install > select Storage > sdcard or external_sd > click fxup.zip and install it -
reboot device into ffos
now your NFC and Bluetooth should work fine (now you can activate both via Preferences)
e.g. to use your Device from Europe
-
pull config from your Phone (via Linux Shell Command):
sudo adb pull /system/build.prop
-
in File build.prop, change the line "ro.telephony.default_network=5" to "ro.telephony.default_network=10"
-
remount your Phone with write permissions (via Linux shell Command):
adb shell su && stop b2g mount -o rw,remount / mount -o rw,remount /system exit && exit -
upload the edited file to the internal SD card:
adb push build.prop /sdcard/
-
to pass the edited build.prop from sdcard to the /system partition:
adb shell && su cp -R /sdcard/build.prop /system/ chmod 644 /system/build.prop reboot -
on your Phone (FFOS), we go to "Settings/mobile network and data" and at "Operator" we choose "automatic"
-
done


