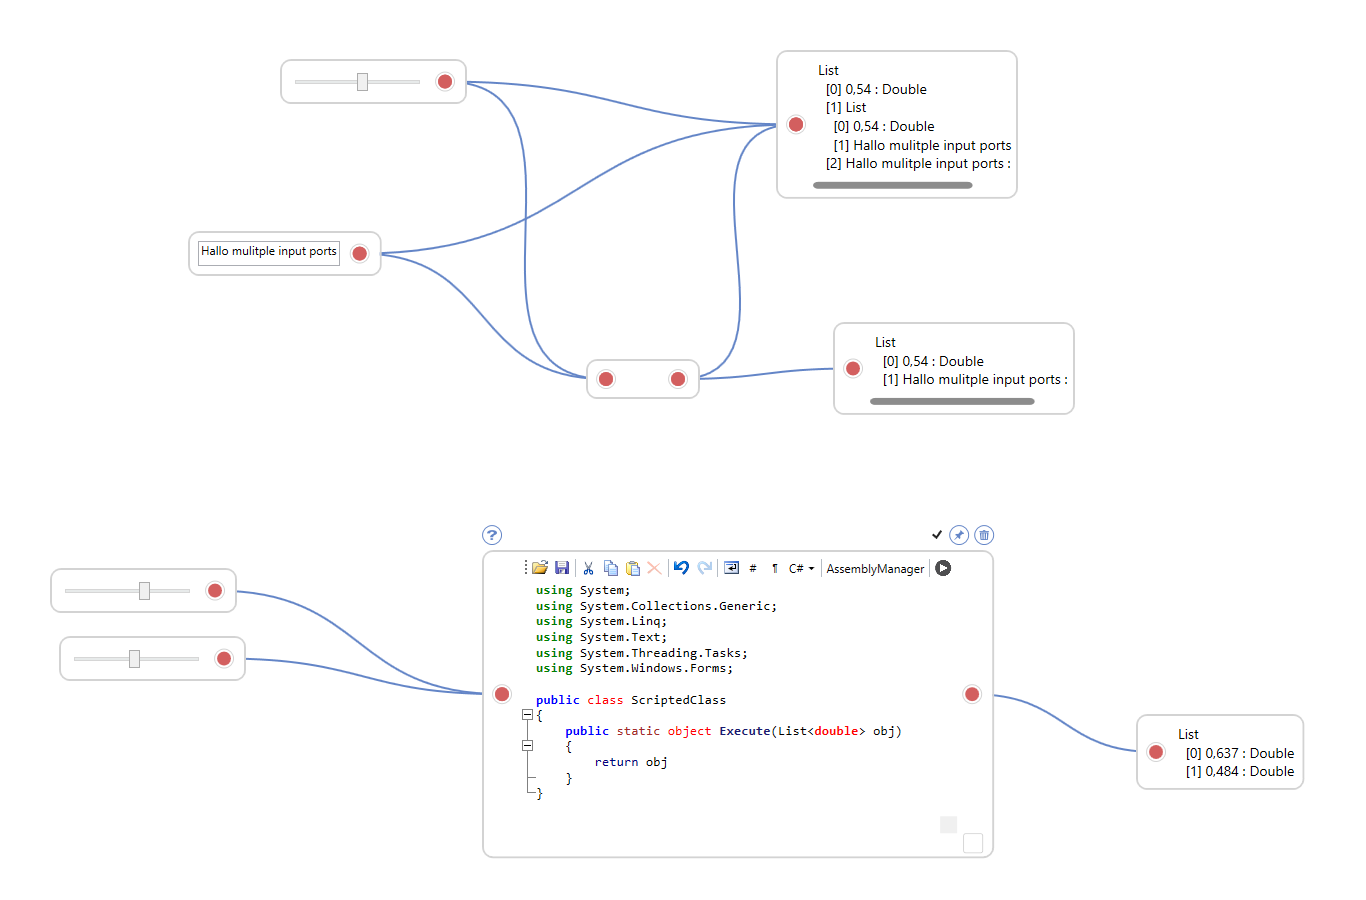
TUM.CMS.VplControl is a WPF based Visual Programming Language Control for .Net. A visual programming language can aid non-programmers to write simple programs or processes, without the knowledge of how they are internally built. The control allows simple visual programming (assignments, boolean expressions, math expressions, and scripting) from scratch. Further nodes for your purposes can be added easily. The development of this VPL framework was mainly influenced by the well known VPL tools Dynamo and Grasshopper.
Download or clone this repository and run the test project in visual studio.
Give it a try:
-
Add node (
double click) -
Context menu (
right click) -
Group selected nodes (
Ctrl+G) -
Select all nodes (
Ctrl+A) -
Copy nodes to clipboard (
Ctrl+C) -
Insert nodes from clipboard (
Ctrl+V) -
Open from .xml file (
Ctrl+O) -
Save to .xml file (
Ctrl+S) -
Delete nodes (
DEL)
- Drawing nodes
- Customize nodes
- Resizeable nodes
- Panning
- Grouping
- Hints
- Copy/Paste
- Serialize/Deserialize
- Zooming
- Type sensetive
- Customizable style
- Vertical/Horizontal flow switch
- ZoomToFit
- Aligning
- Radial context menu
- Lacing
- Animations
- Resize group node to one node
- Nodes for graph plotting / sql
- Drag&Drop nodes from toolbox
- Performance improvement: Virtual canvas
- Node preview at port
- Calculation progress bar
-
Start a new WPF project
-
Add reference to TUM.CMS.VplControl.dll
-
Add a ResourceDictionary to your App.xaml file
<Application x:Class="KBEControlCenter2.App" xmlns="http://schemas.microsoft.com/winfx/2006/xaml/presentation" xmlns:x="http://schemas.microsoft.com/winfx/2006/xaml" StartupUri="MainWindow.xaml"> <Application.Resources> <ResourceDictionary> <ResourceDictionary.MergedDictionaries> <ResourceDictionary Source="/TUM.CMS.VplControl;component/Themes/Generic.xaml" /> </ResourceDictionary.MergedDictionaries> </ResourceDictionary> </Application.Resources> </Application> -
Add a VplControl element to your host control:
<Window xmlns="http://schemas.microsoft.com/winfx/2006/xaml/presentation" xmlns:x="http://schemas.microsoft.com/winfx/2006/xaml" xmlns:VplControl="clr-namespace:TUM.CMS.VplControl;assembly=TUM.CMS.VplControl" x:Class="TUM.CMS.VplControl.Test.MainWindow" Title="MainWindow" WindowStartupLocation="CenterScreen" WindowState="Maximized"> <Grid> <VplControl:VplControl Name="VplControl" /> </Grid> </Window> -
Route key events of your host Control/Window to the VplControl
  KeyDown += VplControl.VplControl_KeyDown;
  KeyUp += VplControl.VplControl_KeyUp;
###Create custom nodes###
You find a TemplateNode.cs file in the test project:
using System.Windows.Controls;
using TUM.CMS.VplControl.Nodes;

namespace TUM.CMS.VplControl.Test.Nodes
{
    public class TemplateNode : Node
    {
	    public TemplateNode(VplControl hostCanvas)
		    : base(hostCanvas)
	    {
		    AddInputPortToNode("Test", typeof (object));
		    AddOutputPortToNode("Test", typeof (object));

		    AddControlToNode(new Label {Content = "TemplateNode"});
	    }

	    public override void Calculate()
	    {
	    	OutputPorts[0].Data = InputPorts[0].Data;
	    }

        public override void SerializeNetwork(XmlWriter xmlWriter)
        {
            base.SerializeNetwork(xmlWriter);

            // add your xml serialization methods here
        }

        public override void DeserializeNetwork(XmlReader xmlReader)
        {
            base.DeserializeNetwork(xmlReader);

            // add your xml deserialization methods here
        }

	    public override Node Clone()
	    {
	    	return new TemplateNode(HostCanvas)
		    {
		    Top = Top,
		    Left = Left
		    };
	    }
    }
}
This TemplateNode consists of a Input- and OutputPort and a label. Use the Calculate() method to implement your tasks.
Add your custom nodes to the ExternalNodeTypes Property of the VplControl and set the NodeTypeMode to All or OnlyExternal:
VplControl.ExternalNodeTypes.AddRange(
    ClassUtility.GetTypesInNamespace(Assembly.GetExecutingAssembly(), "TUM.CMS.VplControl.Test.Nodes")
        .ToList());

VplControl.NodeTypeMode = NodeTypeModes.All;
Dominic Singer
09th August 2016


